By: Plants and Home
Is your fence looking dull, weathered, or just in need of a refresh? Repainting a fence can dramatically improve your home’s curb appeal while also protecting the wood from the elements. Whether you’re tackling a small backyard picket fence or a long wooden boundary, here’s a simple guide to help you get the job done right.
Why Repaint Your Fence?
Protection: Paint seals the wood from moisture, UV rays, and pests.
Aesthetics: A fresh coat of paint can instantly brighten your outdoor space. Almost like a new fence without the price of a new fence.
Longevity: Proper maintenance extends the life of your fence. Painting is cheaper than installing a new fence.
Materials You’ll Need
– Exterior paint or stain
-Primer (if needed)
-Paintbrush, roller, or sprayer
– Sandpaper (medium grit)
-Pressure washer or scrub brush
-Drop cloths or plastic sheeting
-Painter’s tape
-Paint tray and liners
This post contains affiliate links. If you click and buy, I may earn a small commission at no extra cost to you. I only recommend products I use and love. Thanks for supporting Plants and Home!
Step-by-Step Guide to Repainting a Fence
1. Prep the Surface
Before painting, your fence must be clean and smooth.
Remove dirt & old paint: Use a pressure washer or scrub with soapy water and a stiff brush. I used a broom first to knock down spider webs and grass that stuck to the fence, and then this pressure washer to remove old paint and the remaining debris from my fence and deck before repainting. It was quick and easy.
Sand rough spots: Lightly sand any peeling paint or splintered wood.
Let it dry: Allow the fence to dry completely (24–48 hours).
2. Protect Surrounding Areas
Cover plants, grass, or nearby surfaces with drop cloths.
Use painter’s tape to protect the hardware or adjacent structures.
3. Apply Primer (If Needed)
If your fence is bare wood or heavily stained, apply an exterior wood primer.
Let it dry as per the manufacturer’s instructions.
4. Choose the Right Paint
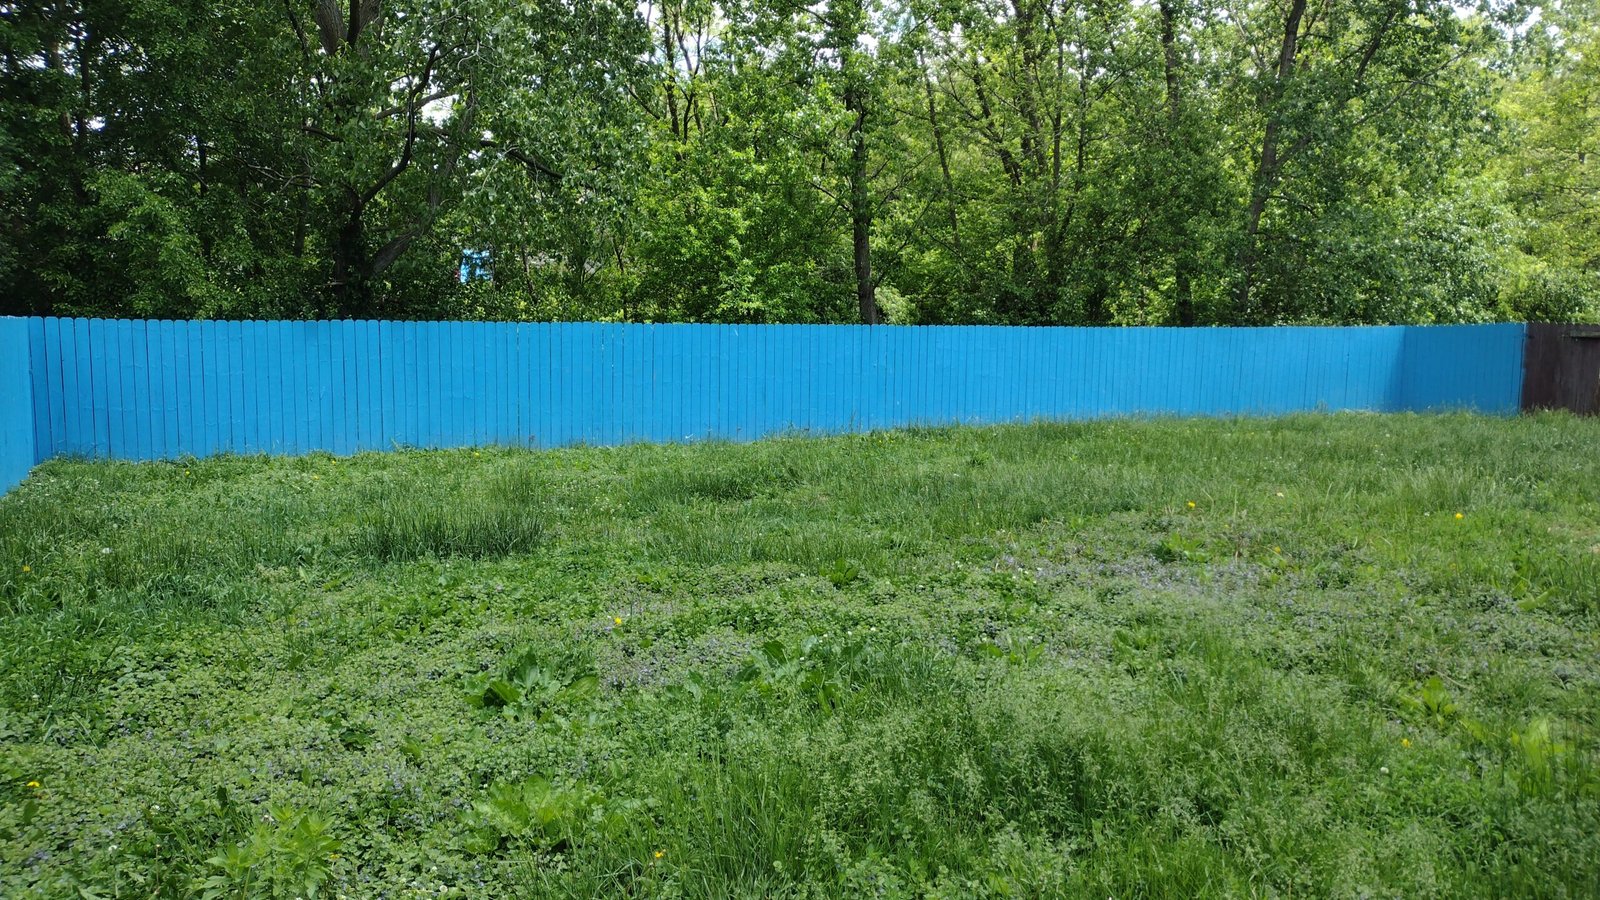
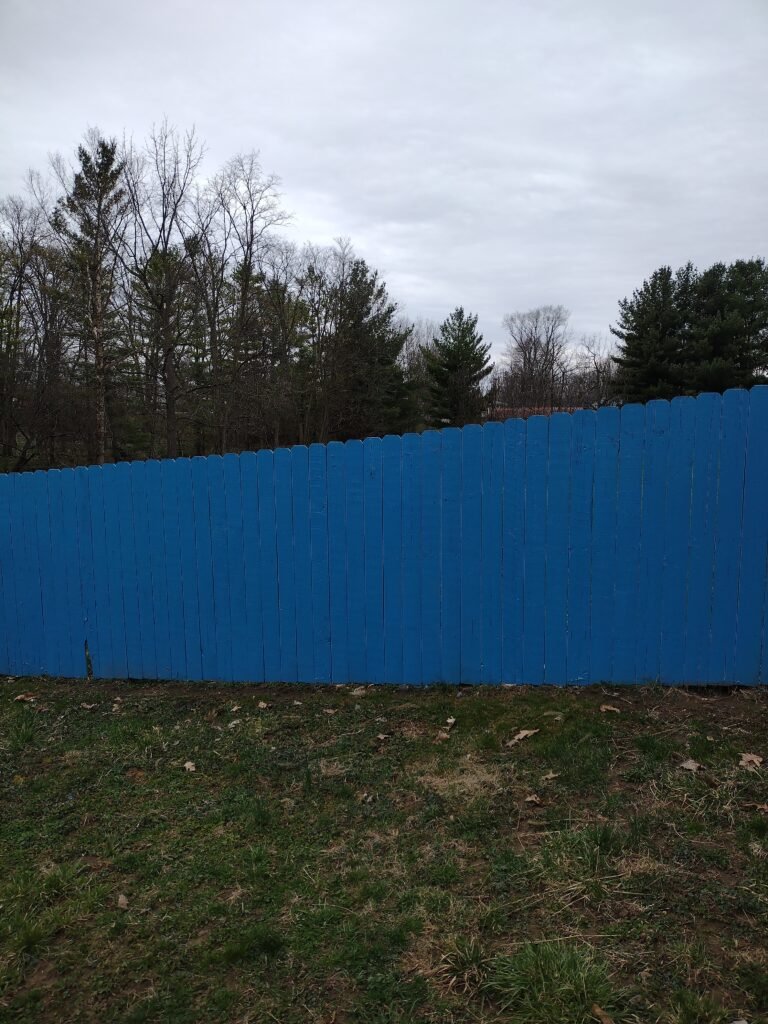
Exterior latex paint is durable and weather-resistant. I used Behr e600 Exterior Paint Satin for my fence, it is 100% acrylic. It has held up nicely for the last two years. Many hardware stores can make it the color you want! Remember, the paint color you choose will most likely be brighter outside than inside because of the sun/lighting situation. I considered this when painting my fence, but it still ended up a brighter blue than I wanted, as you can see in the picture.
Solid stain offers color while letting the wood texture show.
Semi-transparent stain provides a natural look with some protection.
5. Paint the Fence
Don’t forget a paint tray. Start from the top and work your way down to avoid drips.
Use a paint brush for detailed areas and a roller for flat surfaces.
A paint sprayer can save time for large fences, but requires careful masking. I used this sprayer to paint my porch and wished I had gotten it sooner when I repainted my deck.
Apply two thin coats rather than one thick coat for better durability.
6. Let It Dry & Inspect
Allow the first coat to dry completely (check the paint can for drying times).
Apply a second coat if needed for even coverage.
Tips for a Professional Finish
Paint in mild weather (avoid extreme heat, rain, and high winds). Keep an eye on the weather for the week you plan on painting.
Stir the paint frequently to maintain consistency.
Check for missed spots after the first coat dries.
Maintenance Tips
Inspect your fence yearly for cracks or peeling. I try to keep some of the paint for yearly touch-ups. The outside elements tend to fade the paint, so sometimes it doesn’t match exactly. This is one of many reasons it is important to invest in good paint.
Touch up small areas as needed to prevent larger repairs.
Final Thoughts
Repainting a fence is a rewarding DIY project that enhances both function and beauty. With proper prep and the right materials, your fence will look brand new and stand strong for years to come. It is much cheaper to replace the broken planks and paint or refinish a fence than to buy a new one.
Have you recently repainted a fence?
My Pressure Washer Review: https://plantsandhome.org/product-review-westinghouse-wpx3400-gas-pressure-washer/
My Paint Sprayer Review: https://plantsandhome.org/product-review-graco-magnum-project-painter-plus/
Happy Painting!